Quick Recipe Finder is a participant in the Amazon Services LLC Associates Program. If you buy through links on this page we may earn a commission, at no extra cost to you. Cooking times are guidance and vary by appliance. Always confirm doneness with a thermometer against USDA safe minimum internal temperatures.
Evaporated milk is just milk with roughly 60 percent of its water simmered off, which concentrates the fat and sugars and gives it that thick, slightly caramelized body. A dairy free evaporated milk substitute works the same way: reduce a plant milk until it loses the right amount of water, no more and no less. The trouble is that oat, soy, and coconut milk all behave differently on the stove, and the right endpoint changes by recipe.
Quick answer: Reduce unsweetened oat, soy, or full-fat canned coconut milk by roughly half over low heat until it thickens slightly and coats a spoon. Use about 2 cups of plant milk to make 1 cup of substitute, but adjust the ratio and simmer time depending on whether you are making pie custard, fudge, or a cheese sauce.
| Application | Base Plant Milk | Starting Volume | Reduced To | Approx. Simmer Time (low heat) | Failure Mode to Watch |
|---|---|---|---|---|---|
| Pumpkin pie custard | Unsweetened soy milk | 2 cups | 1 cup | 20 to 25 minutes | Scorching on the pan bottom; stir every minute or two |
| Pumpkin pie custard | Full-fat oat milk | 2 cups | 1 cup | 25 to 30 minutes | Oat starch can gel unevenly; whisk constantly near the end |
| Fudge | Full-fat canned coconut milk | 1.5 cups | 1 cup | 10 to 15 minutes | Splits if boiled hard; hold at a bare simmer |
| Fudge | Unsweetened cashew milk | 2 cups | 1 cup | 25 to 30 minutes | Scorches easily; use lowest usable heat |
| Mac and cheese sauce | Unsweetened soy milk | 2 cups | 1 cup | 20 to 25 minutes | Under-reduced milk gives a thin, watery sauce |
| Mac and cheese sauce | Full-fat oat milk | 1.75 cups | 1 cup | 20 to 25 minutes | Over-reduced oat milk turns gummy from starch |
| Tres leches soak | Coconut milk + oat milk (1:1 blend) | 2 cups | 1 cup | 15 to 20 minutes | Separates if cooled too fast; whisk during cooling |
| General one-to-one swap | Full-fat oat milk | 2 cups | 1 cup | 20 to 30 minutes | See the milk substitute baking ratio guide below for non-evaporated swaps |
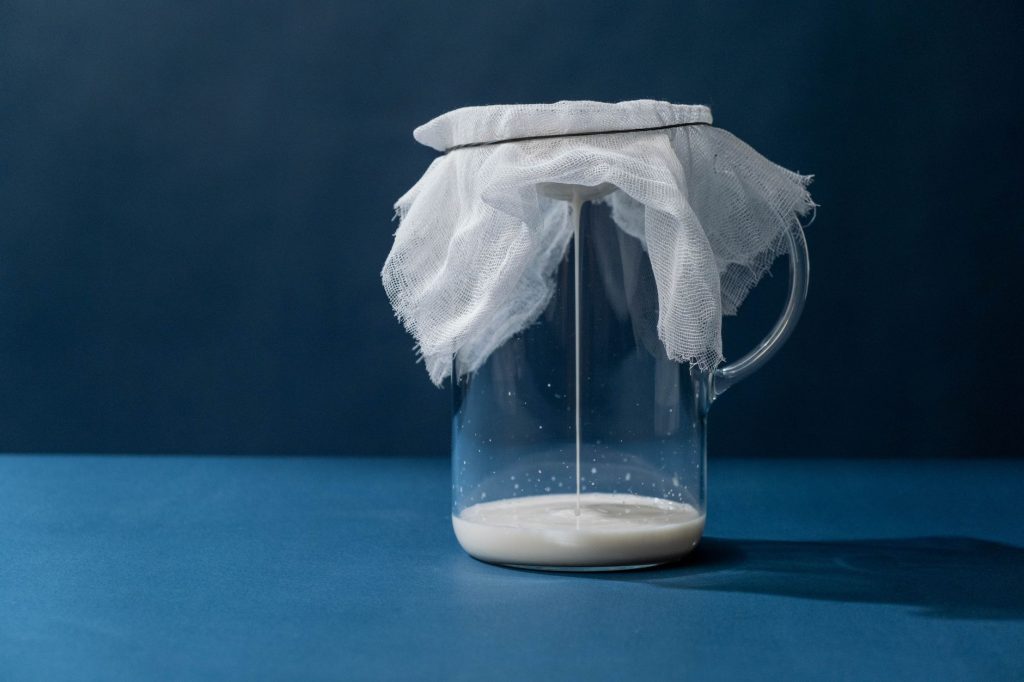
Dairy Free Evaporated Milk Substitute: Reduction Ratios by Recipe
The core move is the same everywhere: simmer, don’t boil, and reduce by volume until the liquid visibly coats the back of a spoon rather than running off it. But the target ratio shifts with the job because each recipe is asking the evaporated milk to do a different thing.
Pumpkin pie
Pie custard wants a true 2:1 reduction, close to the real thing. Thin substitute won’t set the custard properly and can leave it loose in the center even after a full bake. Soy milk tends to reduce more predictably here because it has less starch than oat milk, which can thicken unevenly if it sits too long over heat.
Fudge
Fudge depends on fat and sugar concentration to set up firm, so coconut milk is usually the better base since it starts with more fat already. Because it’s richer, it needs less reduction, roughly 1.5 cups down to 1 cup, and a shorter simmer. Push it too far or let it boil hard and the fat can separate out, leaving a greasy layer instead of a smooth set.
Mac and cheese
A cheese sauce has more room for error since cheese and a roux are doing most of the thickening work. Here the risk runs the other direction: over-reducing oat milk concentrates its natural starch to the point the sauce turns gluey rather than silky. Soy milk is more forgiving for this one. If you want a broader comparison of dairy-free bases for creamy sauces, the heavy cream substitute for pasta guide ranks options by split risk, which overlaps with what you’re managing here.
Tres leches
Tres leches soaks the cake in liquid rather than cooking it in, so the reduced milk needs to stay pourable even after it cools. A coconut and oat milk blend reduced lightly, around 15 to 20 minutes, keeps enough body to soak in without turning the cake gummy. Whisk it as it cools, since coconut fat can re-separate once the pan comes off the heat.
How to Reduce Plant Milk Without Scorching or Splitting
Scorching and splitting are the two failure modes that show up across every one of these recipes, and they come from different causes.
Scorch risk: oat and soy milk
Oat and soy milk scorch because their proteins and starches settle to the bottom of the pan and catch before the liquid above them has reduced. A heavy-bottomed saucepan spreads heat more evenly and buys you a wider margin before it catches. Stir or whisk every minute or two rather than walking away, and keep the heat at a true low simmer, not a rolling boil.
A heavy-bottomed saucepan is the single biggest lever here if scorching keeps happening regardless of how often you stir.
Split risk: coconut milk
Canned coconut milk splits when the fat breaks away from the liquid, usually from too high a heat or too long at a boil. Keep it at a bare simmer, the kind with occasional small bubbles rather than constant motion, and pull it as soon as it coats a spoon. If it does split, whisking in a small splash of cold plant milk off the heat can sometimes bring it back together, though it is not guaranteed.
What Changes the Number
- Brand fat content: plant milks vary in fat per cup between brands, which changes how fast they thicken and how far you need to reduce them. Check the label and expect to adjust the simmer time rather than trust a fixed clock.
- Pan material and size: a wide, heavy pan reduces faster and more evenly than a narrow, thin one, since more surface area means faster evaporation.
- Starting temperature: milk straight from the fridge takes longer to come up to a simmer, which adds a few minutes before the actual reduction clock starts.
- Stove and burner behavior: low heat on one range is not the same as low heat on another. Go by what the liquid is doing in the pan, not the dial number.
- How you measure reduction: eyeballing volume in a pan is imprecise. Weighing the pan before and after on a kitchen scale gives a more reliable read on how much water has actually left the liquid.
A basic kitchen scale makes it easier to hit a target reduction by weight rather than guessing from the side of the pan.
Common Mistakes
- Boiling instead of simmering: a hard boil reduces faster but raises scorch and split risk sharply. Low and slow is the trade worth making.
- Using sweetened plant milk: vanilla or sweetened oat and soy milk will throw off both flavor and sugar balance in savory applications like mac and cheese.
- Stopping too early: a substitute that still pours like regular milk hasn’t concentrated enough and will leave custards and fudge underset.
- Reducing coconut milk the same way as oat milk: coconut milk starts richer and needs a shorter, gentler simmer, not the same ratio treatment as a leaner plant milk.
- Skipping the stir: walking away for even a few minutes near the end of a reduction is when scorching usually happens, since the liquid is thickest and most concentrated right before it’s done.
FAQ
Can you just use regular dairy-free milk instead of evaporated milk?
Sometimes, but the result will be thinner and less rich since you’re skipping the concentration step. For recipes where body matters less, like a quick sauce, a straight swap can work. For custards, fudge, and tres leches, reduction gets you much closer to the real texture. The dairy-free milk substitute by job guide covers which plant milks work best unreduced.
Is oat milk or soy milk better for a dairy-free evaporated milk substitute?
Soy milk tends to reduce more predictably because it has less starch, which makes it a safer choice for custards and sauces where a smooth texture matters. Oat milk works fine but needs closer attention near the end of the simmer to avoid gumminess.
Why did my reduced coconut milk split?
Most splitting comes from heat that’s too high or a simmer that ran too long. Coconut milk’s fat separates more easily than oat or soy milk once it’s pushed past a gentle simmer, so pull it as soon as it coats a spoon rather than reducing it further for a thicker look.
Can I use this reduction method for baking in general, not just evaporated milk recipes?
Reduction is specific to evaporated milk because that’s what makes the original ingredient thicker and richer than regular milk. For straight milk substitutions in baking that don’t call for evaporated milk, the ratios are different and are covered in the milk substitute for baking ratio matrix.
Bottom Line
There is no single ratio that covers every recipe, because pie, fudge, mac and cheese, and tres leches each ask the reduced milk to do something slightly different. Start from the 2:1 baseline, pick soy or oat for leaner applications and coconut for richer ones, keep the heat low, and judge doneness by how the liquid coats a spoon rather than by the clock alone.